ASTM A139 Pipe
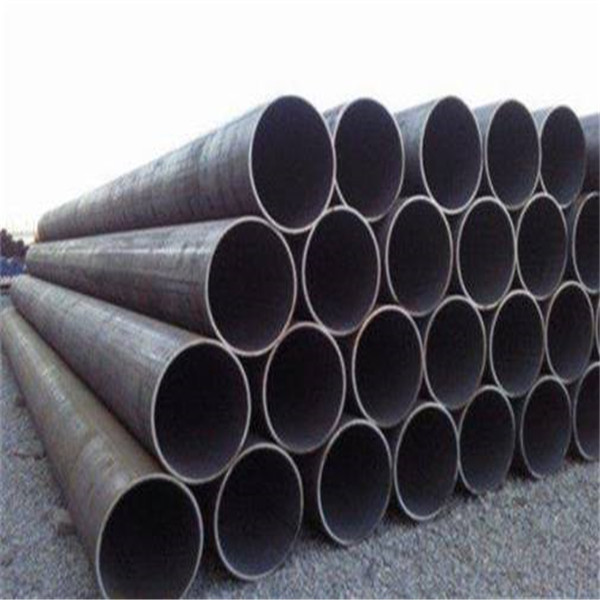
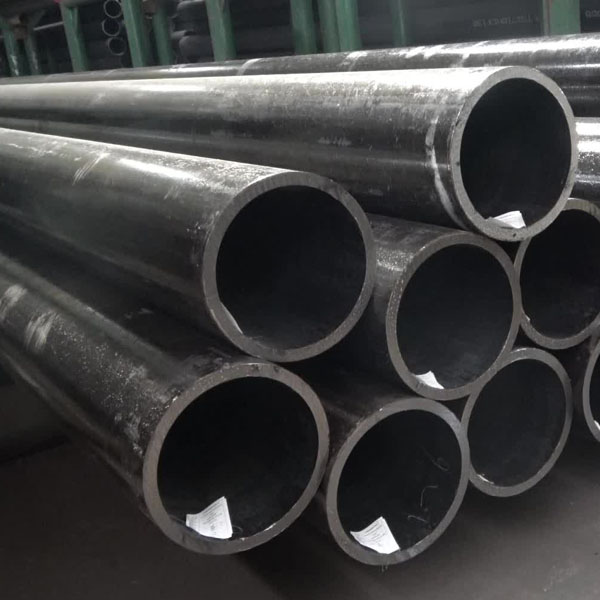
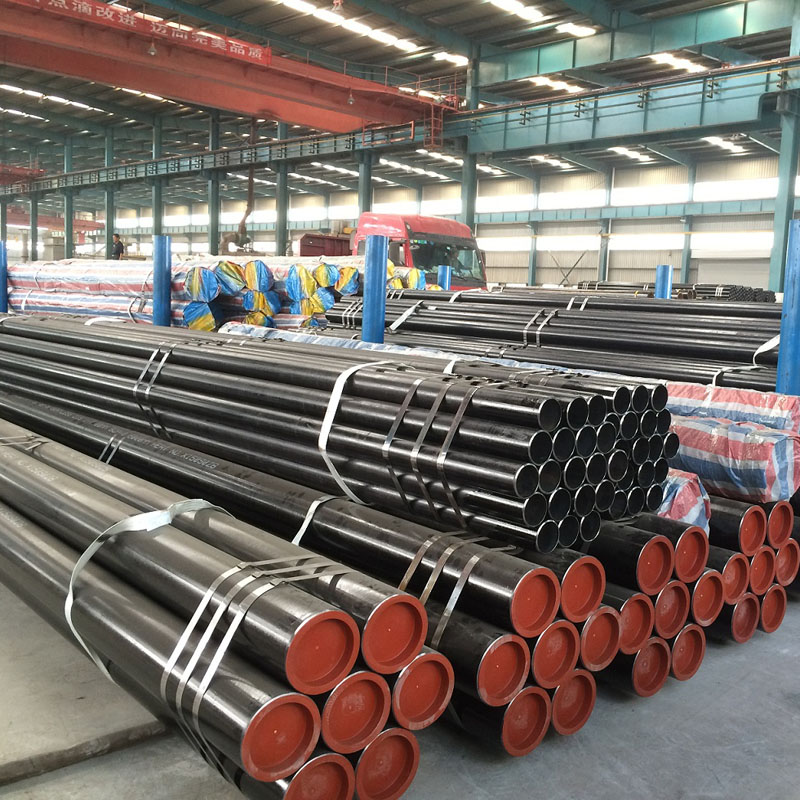
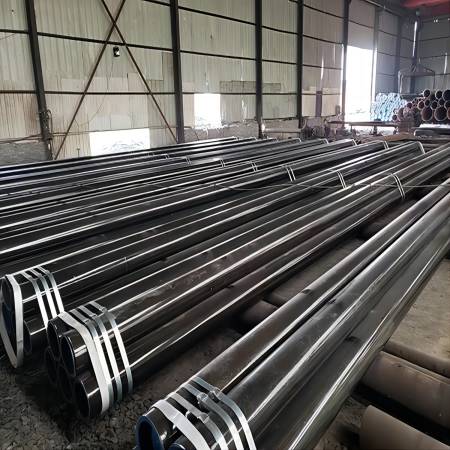
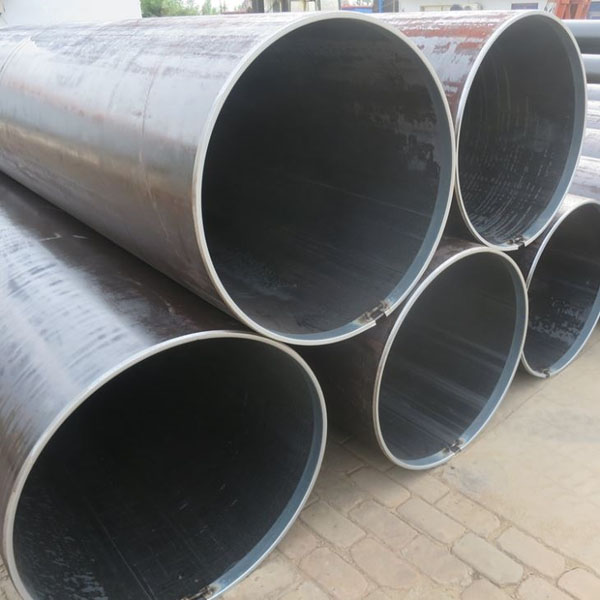
This specification covers five grades of electric-fusion (arc)-welded straight-seam or spiral-seam steel pipe in 4" to 92" inclusive with wall thickness up to 1 " inclusive.
Pipe having other dimensions may be furnished provided such pipe complies with all other requirements of this specification and the grades of steel of the manufactured pipes. The pipe is intended for conveying liquid, gas, or vapor.
SPECIFICATION ASTM A139 pipe
|
SPECIFICATION ASTM A-139 |
|||
|
MIN MECHANICAL PROPERTIES |
|||
|
STEEL GRADE |
Tensile strength ,min |
Yield strength,min Ksi |
Elongation in 2 inches |
|
A-139 GRADE A |
48 ( 330 ) |
30 ( 205 ) |
|
|
A-139 GRADE B |
60 ( 415 ) |
35 ( 240 ) |
|
|
A-139 GRADE C |
60 ( 415 ) |
42 ( 290 ) |
|
|
A-139 GRADE D |
60 ( 415 ) |
46 ( 315 ) |
|
|
A-139 GRADE E |
66 ( 455 ) |
52 ( 360 ) |
|
A139 Grade B Pipe Chemical Composition
| C | Mn | P | S | |
| Grade A: | .25 | 1.00 | .035 | .035 |
| Grade B: | .26 | 1.00 | .035 | .035 |
| Grade C: | .28 | 1.20 | .035 | .035 |
| Grade D: | .30 | 1.30 | .035 | .035 |
| Grade E: | .30 | 1.40 | .035 | .035 |
ASTM A139 Steel Pipe Size Chart
We have wide selection of ASTM A139 Grade B Steel Pipe Dimensions
| NB Sizes | Sch 5 | Sch 10 | Sch 40 | Sch 80 | Sch 160 |
| 1/2 | ✔ | ✔ | ✔ | ✔ | |
| 3/4 | ✔ | ✔ | ✔ | ✔ | |
| 1 | ✔ | ✔ | ✔ | ✔ | |
| 1.25 | ✔ | ✔ | ✔ | ✔ | ✔ |
| 1.5 | ✔ | ✔ | ✔ | ✔ | ✔ |
| 2 | ✔ | ✔ | ✔ | ✔ | ✔ |
| 2.5 | ✔ | ✔ | ✔ | ✔ | ✔ |
| 3 | ✔ | ✔ | ✔ | ✔ | ✔ |
| 3.5 | ✔ | ✔ | ✔ | ✔ | ✔ |
| 4 | ✔ | ✔ | ✔ | ✔ | ✔ |
| 5 | ✔ | ✔ | ✔ | ✔ | ✔ |
| 6 | ✔ | ✔ | ✔ | ✔ | ✔ |
| 8 | ✔ | ✔ | ✔ | ✔ | ✔ |
| 10 | ✔ | ✔ | ✔ | ✔ | ✔ |
| 12 | ✔ | ✔ | ✔ | ✔ | ✔ |
| 14 | ✔ | ✔ | ✔ | ✔ | ✔ |
| 16 | ✔ | ✔ | ✔ | ✔ | ✔ |
| 18 | ✔ | ✔ | ✔ | ✔ | ✔ |
| 20 | ✔ | ✔ | ✔ | ✔ | ✔ |
| 22 | ✔ | ✔ | ✔ | ✔ | |
| 24 | ✔ | ✔ | ✔ | ✔ |
ASTM A139 GR B Pipe Pressure Rating
OUTSIDE DIAMETER |
WALL THICKNESS | WEIGHT OF BLACK PIPES | |||||||||
| NOMINAL PIPE SIZE | STANDARD | STANDARD | PLAIN END PIPES | TEST PRESSURE | |||||||
| INCH | MM | INCH | MM | INCH | MM | KG/MTR | MTR/TON | LB/FT | FT/TON | PSI | KPA |
| 3/4 | 20 | 1.050 | 26.7 | 0.083* | 2.11 | 1.28 | 781 | 0.86 | 2562 | 700 | 4830 |
| 1 | 25 | 1.315 | 33.4 | 0.109* | 2.77 | 2.09 | 478 | 1.41 | 1568 | 700 | 4830 |
| 1.1/4 | 32 | 1.660 | 42.2 | 0.109* | 2.77 | 2.69 | 372 | 1.81 | 1221 | 1000 | 6890 |
| 1.1/2 | 40 | 1.900 | 48.30 | 0.109* | 2.77 | 3.11 | 322 | 2.09 | 1056 | 1000 | 6890 |
| 2 | 50 | 2.375 | 60.3 | 0.109* | 2.77 | 3.93 | 254 | 2.64 | 833 | 1000 | 6890 |
| 2.1/2 | 65 | 2.875 | 73.0 | 0.120* | 3.05 | 5.26 | 190 | 3.53 | 623 | 1000 | 6890 |
| 3 | 80 | 3.500 | 88.9 | 0.120* | 3.05 | 6.46 | 155 | 4.34 | 509 | 1000 | 6890 |
| 3.1/2 | 90 | 4.000 | 101.6 | 0.120* | 3.05 | 7.41 | 135 | 4.98 | 443 | 1200 | 8270 |
| 4 | 100 | 4.500 | 114.3 | 0.120* | 3.05 | 8.37 | 119 | 5.62 | 390 | 1200 | 8270 |
| 5 | 125 | 5.563 | 141.3 | 0.134* | 3.40 | 11.58 | 86 | 7.78 | 283 | 1200 | 8270 |
| 6 | 150 | 6.625 | 168.3 | 0.134* | 3.40 | 13.85 | 72 | 9.30 | 237 | 1000 | 6890 |
| 8 | 200 | 8.625 | 219.1 | 0.188** | 4.78 | 25.26 | 40 | 16.96 | 130 | 800 | 5520 |
Tolerance ASTM A139 pipe
|
PERMISSABLE |
Weight
The weight of any length of pipe shall not vary more than 10% over the specified weight. The weight of any length of pipe shall not vary more than 5% under the specified weight when the specified wall thickness is 0.188" or less or more than 5.5% under when the wall thickness is greater than 0.188". Thickness The minimum wall thickness at any point shall be not more than 12.5% under the nominal wall thickness. Circumference The pipe shall be substantially round. The outside circumference of the pipe shall not vary more than 1.0%, but not exceeding ¾ in. from the nominal outside circumference based upon the diameter specified, except that the circumference at ends shall be sized, if necessary, to meet the requirements of Section 15. Straightness Finished pipe shall be commercially straight. When specific straightness requirements are desired, the order should so state and be agreed upon between the purchaser and the manufacturer. |
|
LENGTHS |
The tolerance of the specified lengths is of ± ½². |
|
FINISH |
Pipe shall be furnished with an angle cut of 90° or beveled ends as specified. All burrs at the ends of pipe shall be removed. When pipe ends have to be beveled for the welding, the ends shall be beveled on the outside to an angle of 35° with a tolerance of ± 2½° and with a width of root face 1/16" ± 1/32". |
|
FINISH OF THE |
The repair by manual or automatic arc welding of defects in the pipe wall will be permitted, provided their depth does not exceed 33% the specified wall thickness.
Defects in the welds, such as sweats or leaks, shall be repaired or the piece rejected at the option of the manufacturer. Repairs of this nature shall be made by completely removing the defect, cleaning the cavity, and then welding. All repaired pipe shall be subject to hydrostatic testing. |
|
NUMBER OF |
One longitudinal tension test specimen shall be made from the steel of each heat, or fraction thereof, used in the manufacture of the pipe.
One reduced-section production weld test specimen shall be taken from a length of pipe from each lot of 3000 ft. of pipe, or fraction thereof, of each size and wall thickness. |
|
MARKING |
Each section of pipe shall be marked with the manufacturer’s distinguishing marking, the specification number, the grade of pipe, and other marking if required and agreed upon between the purchaser and the manufacturer. |
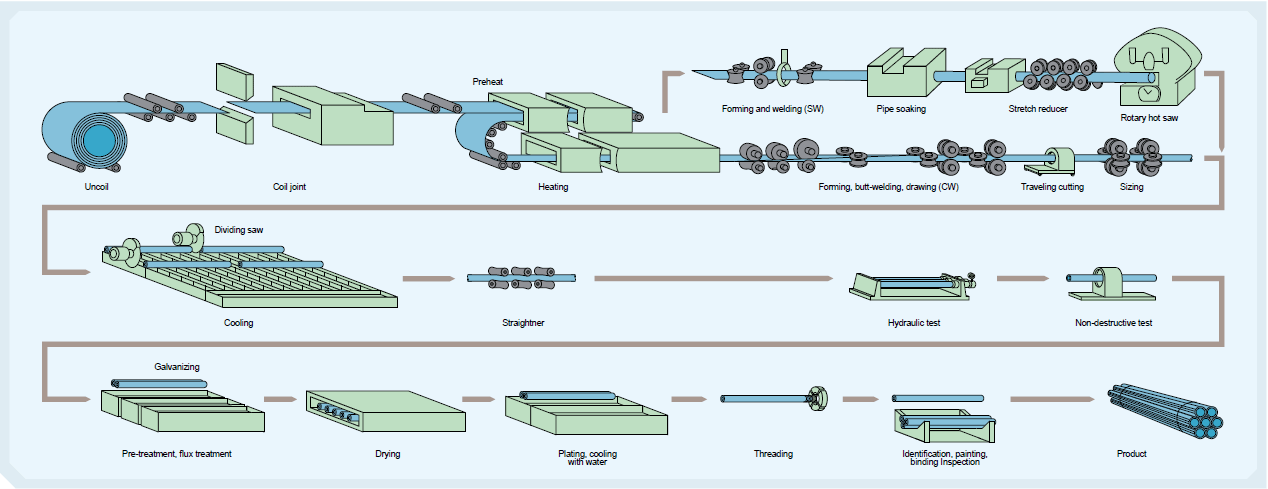
Manufacturing process of ASTM A139 pipe
Seamless steel ASTM 139 pipe
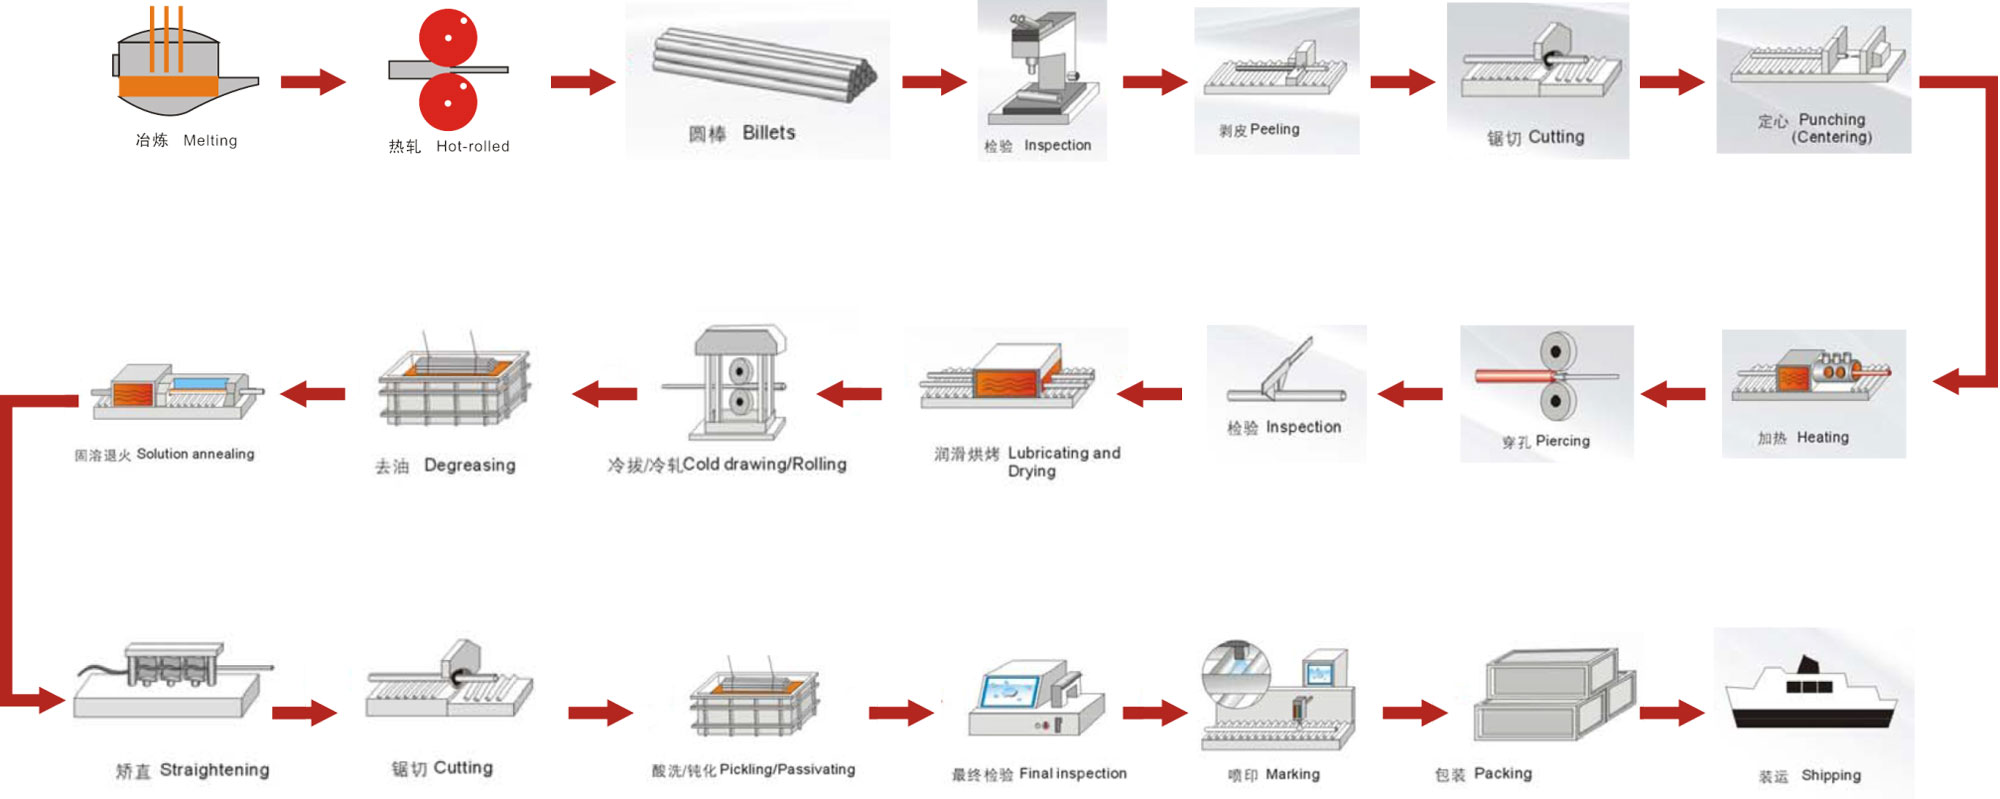
Welded steel ASTM 139 pipe
Application of ASTM A139 pipe
- Cement industrial
- Petrochemical industrial
- Steel plants
- Construction project
- Condensers
- Sugar mills
- Tubular heat exchangers


